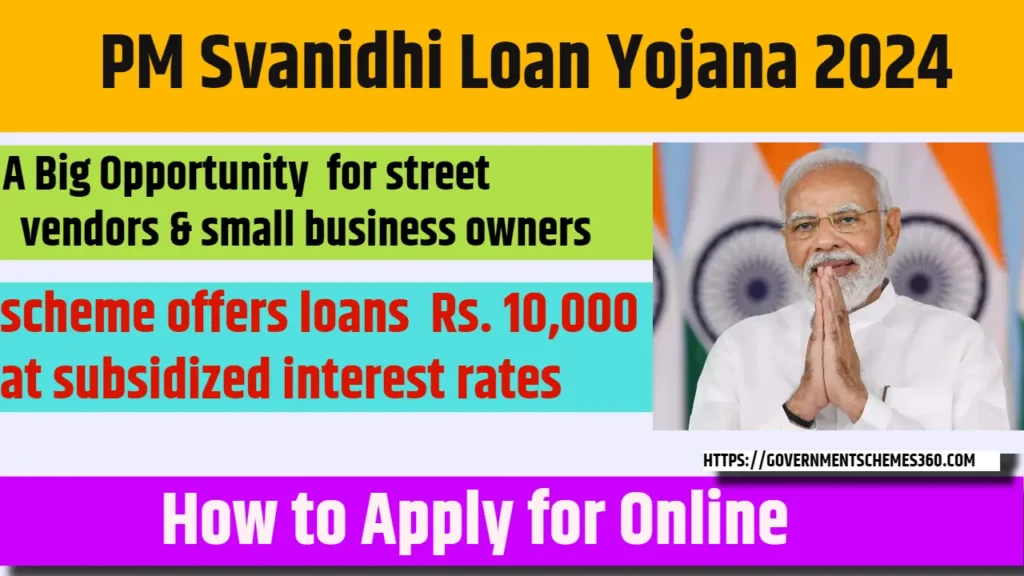
PM SVANidhi Loan OnlineThe PM SVANidhi (Pradhan Mantri Street Vendor’s AtmaNirbhar Nidhi) scheme is an initiative by the Government of India aimed at helping street vendors and small business owners get back on their feet after the economic challenges caused by the COVID-19 pandemic. This scheme offers loans up to Rs. 10,000 at subsidized interest rates, making it easier for vendors to restart their businesses and sustain their livelihoods.

QUICK GUIDE
| Step | Description |
|---|---|
| Step 1: Visit Official Portal | Go to www.pmsvanidhi.mohua.gov.in. |
| Step 2: Register with Mobile Number | Enter mobile number, fill CAPTCHA, and verify OTP. |
| Step 3: Aadhar Verification | Enter Aadhar number and verify with OTP sent to Aadhar-linked mobile. |
| Step 4: Fill Personal Details | Fill in personal information like State, District, City, and Contact Details. |
| Step 5: Enter Business Details | Provide business information (e.g., type of activity, location, working days). |
| Step 6: Upload Documents | Upload Aadhar Card, Bank Passbook/Statement, and Vendor Certificate/LoR. |
| Step 7: Fill Financial Details | Enter monthly/annual income, bank details, and IFSC code. |
| Step 8: Enter Loan Amount | Specify loan amount (₹5,000 – ₹10,000) and purpose (e.g., working capital). |
| Step 9: Review & Submit | Check all details, ensure accuracy, and submit the application. |
| Step 10: Verification & Disbursement | Post submission, application verification, and loan disbursement follow. |
PM Svanidhi Loan Yojana 2024
Understanding the PM SVANidhi Scheme
The PM SVANidhi scheme was launched by the Ministry of Housing and Urban Affairs (MoHUA) in June 2020. It aims to provide microloans to street vendors across India. The scheme offers an initial working capital loan of up to Rs. 10,000, with a repayment period of one year. The loan amount can be repaid in monthly installments.
One of the key features of this scheme is that it does not require any collateral. Additionally, if the borrower repays the loan on time or early, they become eligible for a higher loan amount in subsequent years, with the next loan amount being Rs. 20,000 and later Rs. 50,000. Moreover, the scheme also offers an interest subsidy of 7%, which is directly credited to the borrower’s account every quarter.
Benefits of the PM SVANidhi Scheme
- Easy Access to Credit: Street vendors can easily access up to Rs. 10,000 without the need for collateral. This loan can help vendors restart their businesses after the economic impact of the pandemic.
- Interest Subsidy: Borrowers are eligible for a 7% interest subsidy, which makes the loan more affordable. The subsidy is credited to the borrower’s account every three months.
- Incremental Loan Amounts: If the borrower repays the loan on time, they can apply for a higher loan amount of Rs. 20,000 in the second tranche and Rs. 50,000 in the third tranche.
- Digital Transactions: Borrowers are encouraged to repay the loan digitally, and cashback incentives are provided for digital transactions.
- No Penalty for Early Repayment: There is no penalty for early repayment of the loan, which further benefits the borrower.
Eligibility Criteria for PM SVANidhi Loan
To apply for the PM SVANidhi loan, you must meet the following eligibility criteria:
- Street Vendor Status: The applicant must be a street vendor who was vending on or before March 24, 2020.
- Vendor Identification: The vendor must possess a Certificate of Vending or an Identity Card issued by Urban Local Bodies (ULBs). If the vendor does not have a Certificate of Vending, a Letter of Recommendation (LoR) from the ULB or Town Vending Committee (TVC) is required.
- Aadhar Card: The applicant must have a valid Aadhar Card, linked to their mobile number.
- Bank Account: The applicant must have an active bank account in their name, with the bank details ready for linking with the loan application.
Step-by-Step Guide to Apply for PM SVANidhi Loan Online
Now that we understand the basics of the PM SVANidhi scheme, let’s go through the step-by-step process to apply for the loan online.
Step 1: Visit the Official Portal
To start the application process, you need to visit the official PM SVANidhi scheme portal. The website URL is www.pmsvanidhi.mohua.gov.in. Make sure you are on the official website to avoid any fraudulent activities.
Step 2: Register with Your Mobile Number
Once you are on the homepage, click on the “Apply for Loan” button. You will be prompted to enter your mobile number. Make sure this is the mobile number linked to your Aadhar Card.
After entering the mobile number, you will need to complete a CAPTCHA code for verification. Then, click on “Request OTP.” An OTP (One-Time Password) will be sent to your registered mobile number. Enter the OTP in the required field and click on “Verify OTP.”
Step 3: Aadhar Card Verification
After successfully verifying your mobile number, you will be redirected to the Aadhar Card verification page. Here, you need to enter your 12-digit Aadhar number. Once entered, click on the “Verify Aadhar” button.
You will receive an OTP on the mobile number linked with your Aadhar Card. Enter this OTP to verify your Aadhar details. This step is crucial as your personal information, such as name, date of birth, and address, will be automatically fetched from the Aadhar database.
Step 4: Fill in Personal Details
Once your Aadhar is verified, the next step is to fill in your personal details. Some of these details will be auto-filled based on your Aadhar information, including your name, father’s name, date of birth, gender, and marital status.
You will need to manually select or enter the following details:
- State: Choose the state where you reside.
- District: Select your district.
- City/Town: Choose your city or town.
- Ward: Select the appropriate ward from the dropdown menu.
Scroll down to fill in your contact details, such as your current and permanent address. If your current address is the same as your permanent address, you can check the box to auto-fill the details.
Step 5: Business Details
The next section is to fill in your business details. This is an essential part of the application, as it determines the purpose and amount of the loan.
- Name of Activity: Enter the name of the activity or business you are involved in (e.g., fruit selling, vegetable vending, etc.).
- Place of Vending: Specify whether you have a fixed vending location or if your business is mobile.
- Duration of Vending: Indicate how long you have been in this business (months or years).
- Working Days: Mention how many days a week you operate your business.
- Timing of Vending: Enter the hours during which you conduct your business daily.
- Location Area of Vending: Provide the exact location where you vend, such as street names or landmarks.
- Nearest Landmark: Provide a well-known landmark near your vending area.
Step 6: Upload Required Documents
After filling in your business details, you will need to upload the necessary documents. These include:
- Copy of Aadhar Card: This is mandatory for identity verification.
- Bank Passbook/Statement: Upload a copy of your bank passbook or recent bank statement to verify your account details.
- Vendor Certificate/Letter of Recommendation: If you have a Certificate of Vending, upload it here. If not, upload the Letter of Recommendation from your ULB or TVC.
Step 7: Financial Details
In this section, you will provide your financial details, which include:
- Monthly Income: Enter your approximate monthly income from vending.
- Annual Income: Enter your approximate annual income from vending.
- Name of Bank: Select your bank from the dropdown list.
- IFSC Code: Enter the IFSC code of your bank branch.
- Bank Account Number: Enter your bank account number carefully. Ensure there are no mistakes, as this is where the loan amount will be credited.
Step 8: Loan Amount and Purpose
Now, you will be required to enter the loan amount you wish to apply for. The first tranche of the loan ranges between Rs. 5,000 to Rs. 10,000. Enter the desired loan amount within this range.
Next, select the purpose of the loan. You can choose from the following options:
- Working Capital: For managing day-to-day operations.
- Business Expansion: For growing or expanding your current business.
- Purchase of Equipment/Goods: For buying new equipment or goods required for your business.
Step 9: Review and Submit the Application
Once all the details are filled in, carefully review your application. Make sure all the information is accurate and all required documents are uploaded.
After verifying the details, click on the “Submit” button. Your application will be successfully submitted.
Step 10: Application Verification and Loan Disbursement
After submitting your application, it will be reviewed by the concerned authorities. You will receive a verification call from your nearest ULB or government official to confirm the details provided in your application. This process usually takes around 15 days.
If your application is approved, the loan amount will be directly credited to your bank account. You will receive a notification confirming the disbursement of the loan.
ALSO READ :
Chhattisgarh Free Cycle Yojana 2024
Tips for a Successful PM SVANidhi Loan Application
- Ensure Aadhar Card is Linked with Mobile Number: Before starting the application process, make sure your Aadhar Card is linked with your mobile number, as OTP verification is essential.
- Accurate Information: Provide accurate and up-to-date information. Any discrepancy in the details provided can lead to rejection of the application.
- Double-Check Bank Details: Be extra careful while entering your bank details, especially the account number and IFSC code, as any mistakes can delay or hinder the loan disbursement process.
- Upload Clear Documents: Ensure the documents you upload are clear and legible. Blurry or incomplete documents may


